5 Ways to Add Privacy With a Chain Link Fence

Chain link fencing is a great option for an affordable and durable fence for your home in Carrollton. They can be customized and need less maintenance than other options. However, privacy is a concern with chain link fences, and many people consider replacing them with privacy fences. However, there are multiple effective ways to add privacy to your chain link fence without having to remove them. We’ll discuss some of the most popular options on how you can do that. 

How to add privacy for a chain link fence 

1. Add a Privacy Slat 


One of the easiest ways to add privacy to a chain link fence is to install a privacy slat. The slats are available in a variety of materials, including wood, plastic, bamboo planks and reeds. The slats can be inserted into the chain links vertically or slantingly and be fastened with wires or hooks. Thin reed slats can be used as slats or also woven into a screen and fastened to the fence. However, reed screens tend to get damaged within a year or two. Ask a professional fence installer in Carrollton to suggest the best slats for your chain link fence. 


2. Install Lattice Panels


Lattice panels are a great option for adding privacy to a chain link fence. Lattice panels are made of crisscrossed strips of wood or plastic that create an open yet opaque barrier. They can be attached to the top of the fence with zip ties or screws and provide additional privacy without blocking out sunlight or fresh air.

3. Chain Link Privacy Screens or Windscreens


These privacy screens are made of woven polypropylene mesh and look like tarps. But unlike tarps, they have tiny holes to avoid catching the wind. They provide good privacy depending on the material and the manufacturer’s guarantee. Mesh privacy screens can be fastened to your chain link fence with zip ties through the metal grommets. They are quite durable and can last a few years without fading due to sunlight. 

4. Artificial green plant rolls 


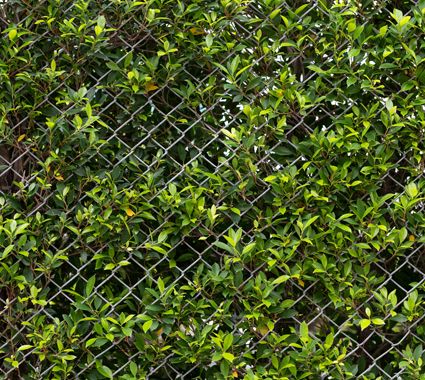
These are rolls made of mostly plastic that look like green shrubs and hedges like ivy. They provide good privacy while leaving some gaps between the leaves to mimic natural hedges. You can go for expandable artificial hedge rolls if you want more flexibility in how much privacy you want. Expand the roll to cover the full length of the fence or cover only a part of it by rolling it back. 


5. Plant Tall Trees or Bushes


If you don’t want artificial rolls and want the real thing, you can plant tall trees and thick bushes or hedges. Just be sure to plant the trees or bushes at least 10 feet away from the fence, so they don’t damage it when they grow. Also, some hedges can grow quite fast and need frequent trimming and maintenance, so you may want to check with a gardener or a fence installer for the best option. 

Fence installation in Carrollton

Privacy concerns should not force you to replace your chain link fence. These options are the most affordable and popular to add privacy to your chain link fence. If you are not sure which option is the best for you, or still want a fence replacement, contact us to speak to our home fence specialists. With Best Nest Renovations, you can be sure that you will get the most reliable and secure solutions for your home fence. Reach us today at 770-790-5967 or through our contact page

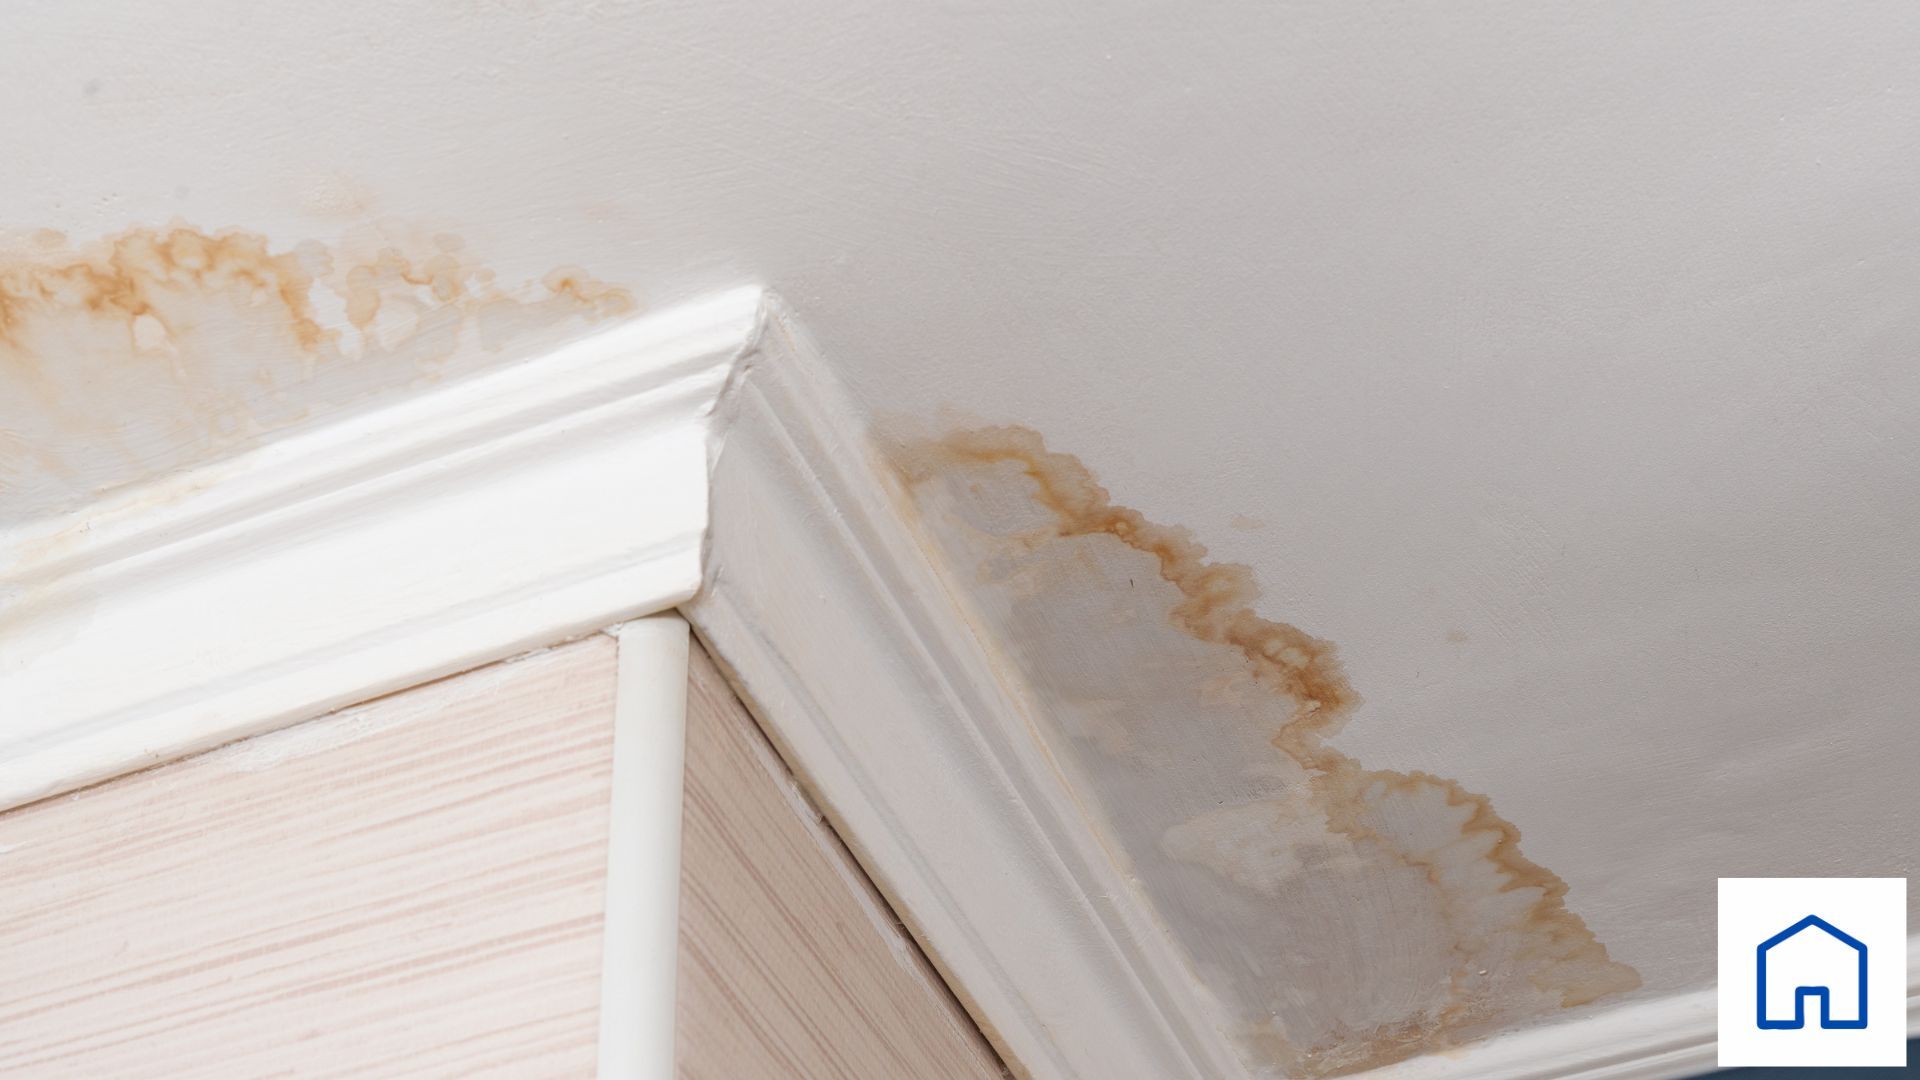
A corner of a wall with a stain on it.
May 21, 2024
How to Assess and Repair Water Damage from Leaky Roofs A leaky roof can cause significant water damage to a home, leading to costly repairs and potentially severe structural issues if not addressed promptly. Understanding how to effectively assess and repair water damage caused by roof leaks is essential for maintaining the health and safety of your home. Here's a guide to help you navigate the steps from identifying the damage to making the necessary repairs. Step 1: Identify the Source of the Leak Before any repair work can begin, the first step is to identify where the water is entering your home. This can be more challenging than it sounds, as water can travel from the initial entry point along beams or other materials. Look for signs of water stains on the ceiling or walls, mold growth, or musty odors. It's often helpful to go into the attic with a flashlight during or immediately after rain to find where water is coming in. Step 2: Contain Immediate Water Damage Once you identify a leak, the next step is to minimize the water damage: Place buckets or other containers under active leaks to catch dripping water. If the ceiling is bulging from trapped water, carefully puncture it with a screwdriver to release the water and prevent the ceiling from collapsing. Move furniture, electronics, and other valuables out of the affected area to prevent further damage. Step 3: Dry Out the Affected Area Proper drying is critical to prevent mold and further damage: Use fans, dehumidifiers, and increased ventilation to help dry out wet areas. This is especially important in hidden spaces like attics, where moisture can linger. Remove and replace any wet insulation, as it can hold moisture for a long time and foster mold growth. If carpets or rugs are wet, consider professional cleaning or replacement, depending on the severity of the water damage. Step 4: Assess and Repair Structural Damage Water damage can weaken structural components of your home, such as joists and beams: Inspect structural wood for signs of rot or mold. Press a screwdriver into the wood to check for softness, which indicates rot. Replace any structurally compromised wood. This task may require a professional if significant structural damage is found. Ensure that all replaced materials are treated or sealed to resist future water damage. Step 5: Repair Interior Damage Water stains on walls and ceilings will need to be addressed to restore the aesthetic appeal of your home: Once thoroughly dried, clean stains with a solution of bleach and water to kill any remaining mold spores. Repair damaged drywall or plaster. Small areas can be patched, but large areas may need to be replaced. Repaint or wallpaper the affected areas to match the existing interior. Step 6: Repair or Replace the Roof The most critical step is repairing the roof to prevent future leaks: Replace damaged or missing shingles or tiles. Check and repair flashing around chimneys, vents, and where the roof meets walls. Consider hiring a professional roofing contractor to ensure the repairs are done correctly. A professional can also assess whether a more extensive repair or a full roof replacement is necessary. Step 7: Regularly Inspect and Maintain Your Roof Prevent future leaks by conducting regular inspections and maintenance of your roof: Clean gutters and downspouts regularly to ensure proper drainage. Trim trees near your roof to prevent branches from damaging shingles. Inspect your roof for damage after severe weather events. Conclusion Addressing water damage from a leaky roof involves more than just fixing the roof itself. It requires a comprehensive approach to assess and repair damage throughout the affected areas of your home. By taking these steps, you can prevent further damage, protect your home’s structural integrity, and maintain a healthy living environment. If you feel overwhelmed by the process, don't hesitate to call the professionals at Best Nest Roofing & Renovations in Carrollton, GA. We will ensure that your home is repaired safely and effectively.
A hand is holding a stack of 100 dollar bills
May 15, 2024
Get an instant online quote using our Online Quote Tool Here !
A person is holding a piece of hail in their hand.
May 10, 2024
Emergency Roof Repair Tips
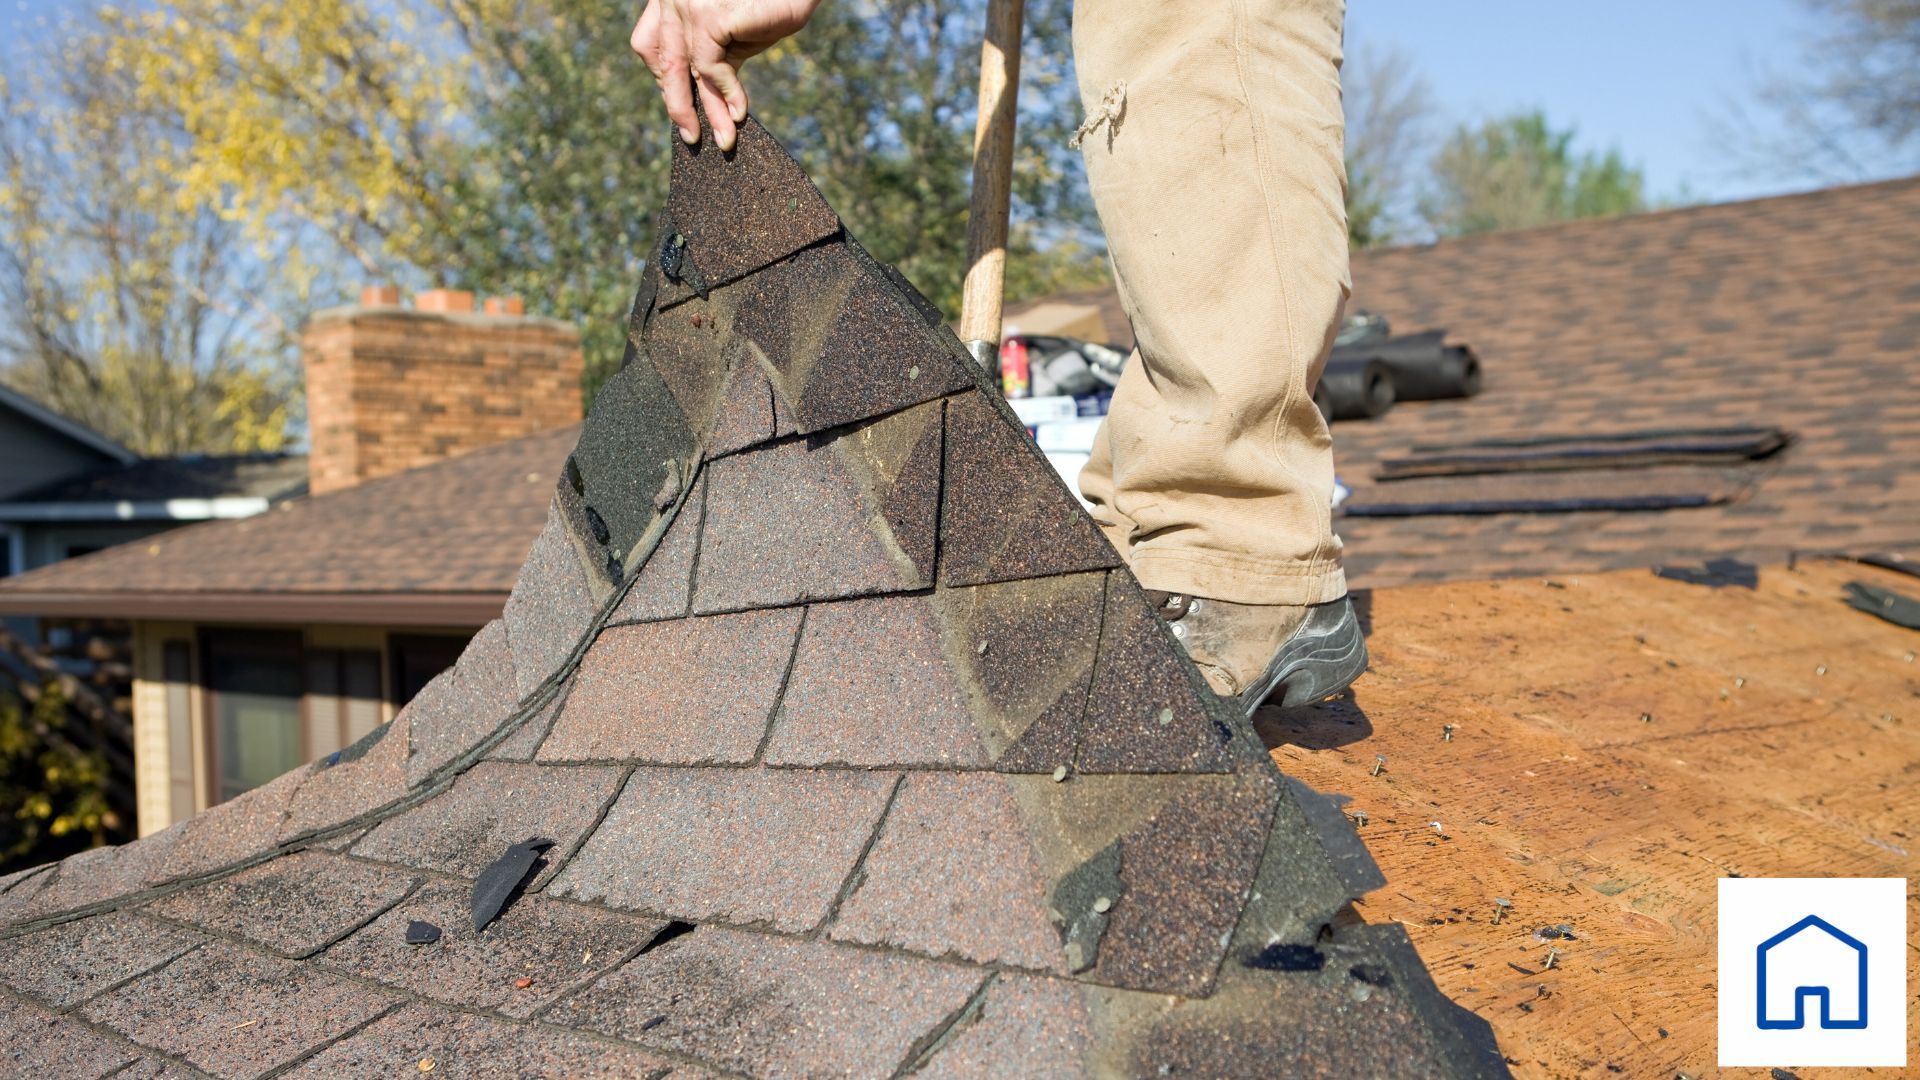
A man is standing on top of a roof holding a piece of shingles.
May 5, 2024
The Consequences of Ignoring Roof Damage
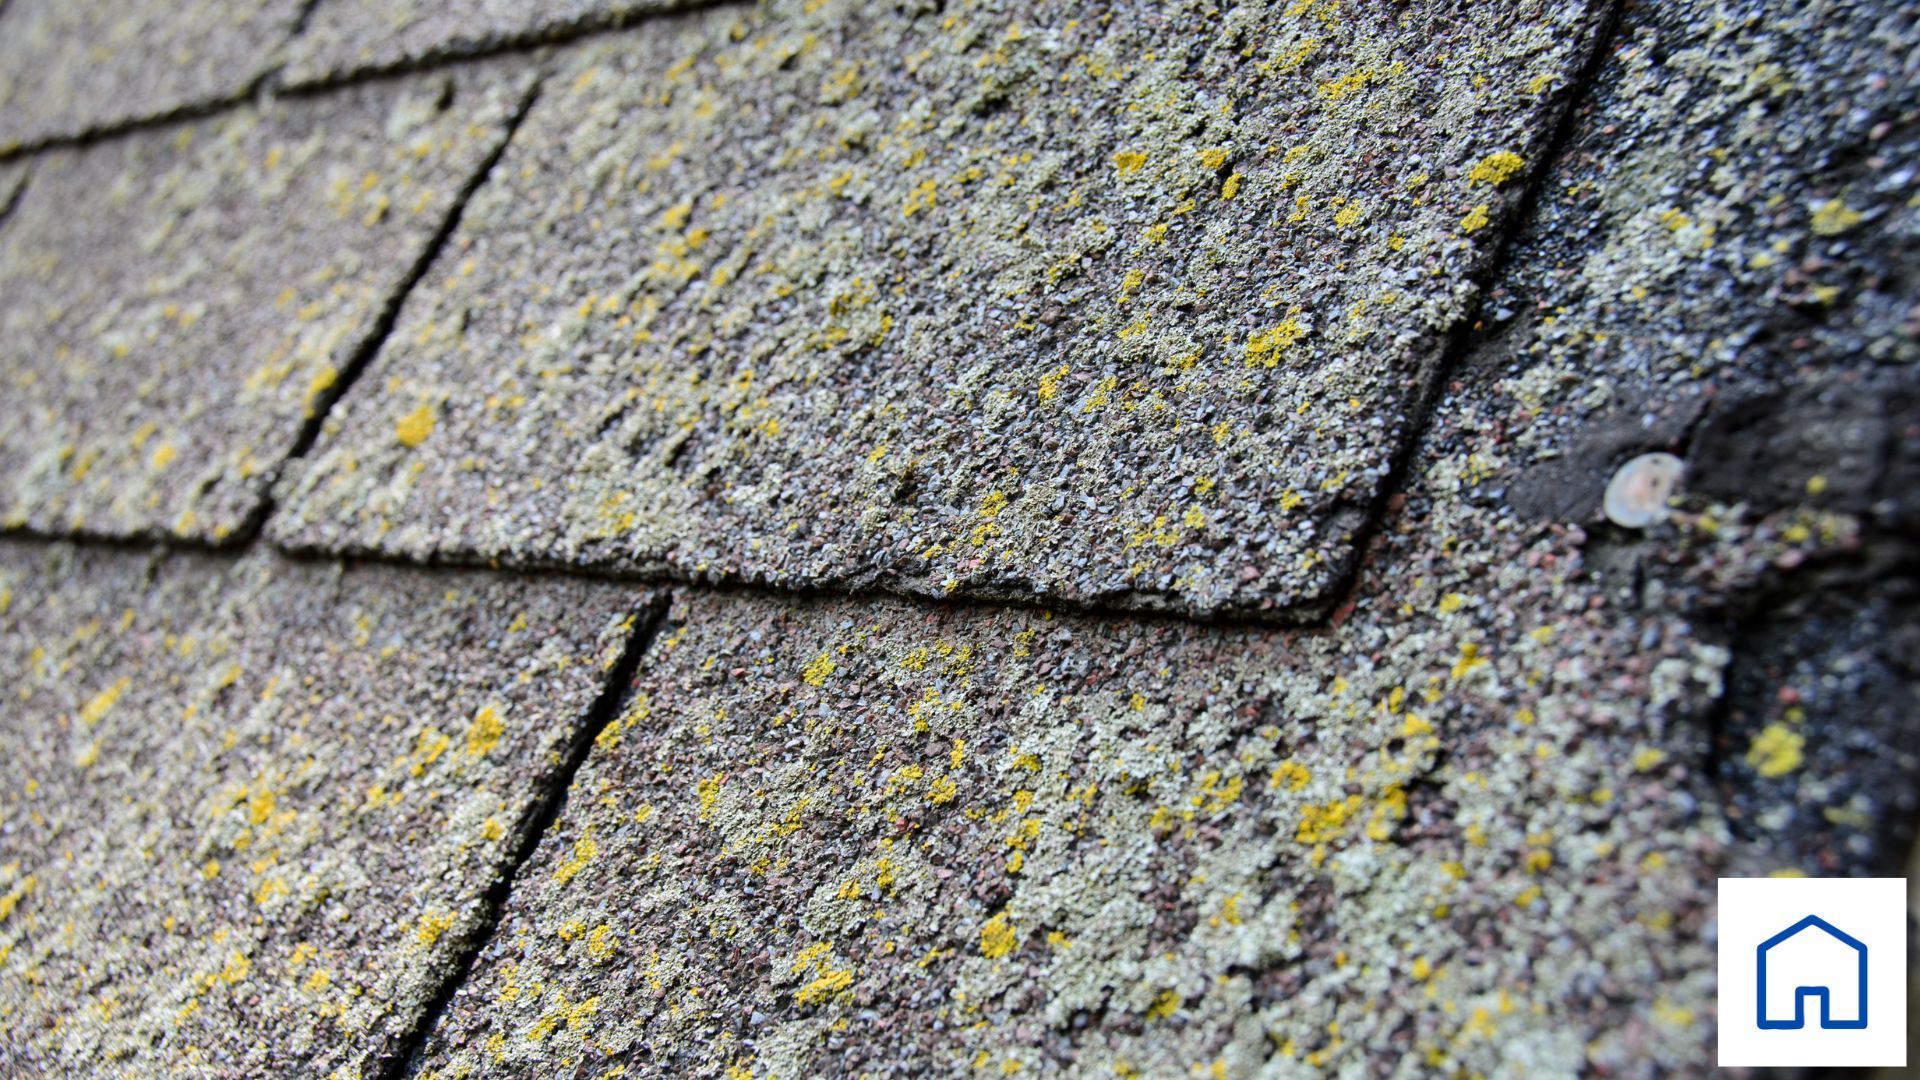
A close up of a roof with moss growing on it.
May 1, 2024
Identifying Roof Damage: A Homeowner’s Guide
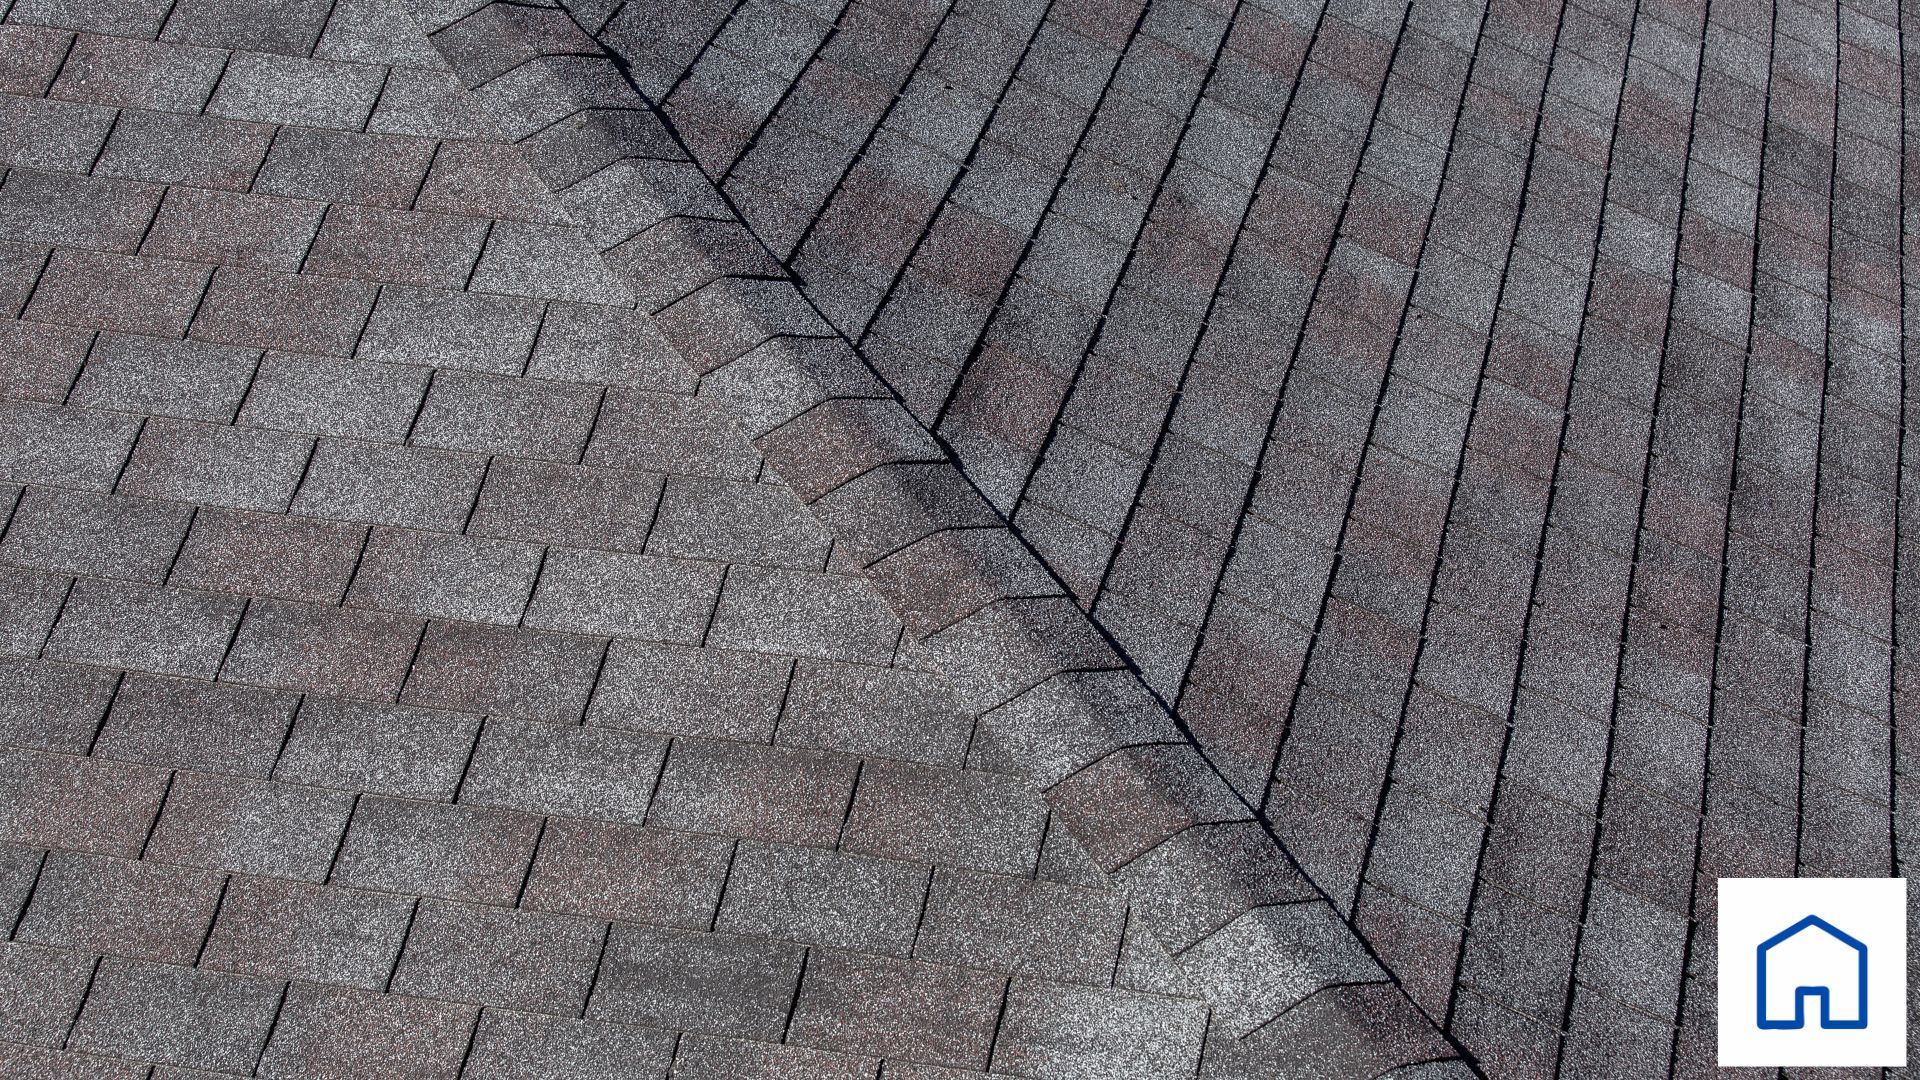
A close up of a roof with a house in the background.
April 26, 2024
When Is It Time for a Replacement?
Two men are working on the roof of a house.
April 23, 2024
The Importance of Professional Roof Installation: What You Need to Know
An illustration of a house with cherry blossoms in the background and a stack of bricks in front of it.
February 20, 2024
How to Choose the Right Roofing Materials
A painting of a house being repaired with tools in front of it.
February 13, 2024
As spring approaches, bringing with it the promise of warmer days, it also heralds a season of potentially strong storms. These seasonal tempests can test the limits of your home's defenses, with your roof serving as the frontline warrior. It's crucial, then, to ensure your roof is in tip-top condition to withstand whatever the spring weather throws its way. Here are five signs that your roof might not be ready for the upcoming spring storms and the steps you can take to address these vulnerabilities.
A painting of a house before and after a storm.
February 5, 2024
As spring approaches, bringing with it the promise of warmer days, it also heralds a season of potentially strong storms. These seasonal tempests can test the limits of your home's defenses, with your roof serving as the frontline warrior. It's crucial, then, to ensure your roof is in tip-top condition to withstand whatever the spring weather throws its way. Here are five signs that your roof might not be ready for the upcoming spring storms and the steps you can take to address these vulnerabilities.